The Assets Library Panel
The Assets Library is the central hub for every resource you work with in Trumble — textures, alphas, materials, brushes, and baked maps all live here. Learn how to import, organise, and drag assets directly into your work in the Texture tool viewport.
Opening the Library
The Assets Library panel lives at the bottom of the Texture tool viewport. It's always accessible while you're working — you don't need to leave the 3D view to find a resource.
- Open the Texture tool from the top toolbar.
- The Assets Library panel appears at the bottom of the viewport. Click the Assets Library header to expand it if it's collapsed.
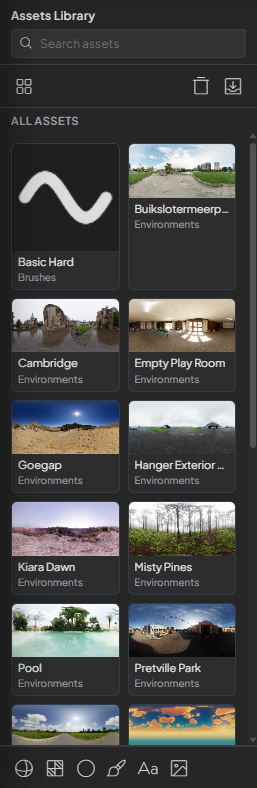
- The panel shows thumbnails for all currently available resources. You can scroll horizontally through them.
- Use the filter tabs at the top of the panel to show All assets or narrow by type.
Asset Types
The Assets Library holds several types of resources. Understanding what each type is used for helps you keep things organised and find what you need quickly.
Any image used as a surface map — color, roughness, AO, normal, or baked output. PNG, JPEG, or WebP.
A grayscale image used as a brush tip shape. White areas are opaque, black areas are transparent.
A full PBR material preset with all channels filled. Drag onto a layer's channel panel to apply all maps at once.
A saved brush configuration — tip shape, size, hardness, and jitter settings combined into a reusable preset.
Output from the Bake tool — Normal, AO, Curvature, Position, or Thickness maps generated from your mesh.
Any image you've dragged in from your computer mid-session. Available immediately, saved to the scope you choose.
Importing Assets
There are two ways to get resources into the Assets Library: importing files from your computer, or saving resources you've created inside Trumble.
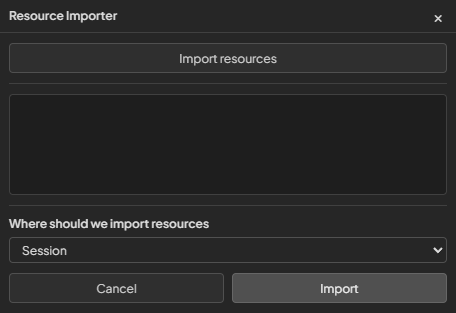
- Click the + Import button at the right of the library panel, or drag an image file directly onto the viewport from your file manager.
- A dialog will appear asking where to import the resource. Choose a storage scope — Session, Project, or Library (see Step 4 for the difference).
- The resource appears as a thumbnail in the panel immediately and is ready to use.
- To save something you created in Trumble — like a baked map or a layer from the Paint tool — right-click it and choose Save to Library. Set a name, type, and scope.
Storage Scopes
Every resource in the Assets Library is stored at one of three scopes. Choosing the right scope keeps your library clean and ensures resources are available exactly where and when you need them.
| Scope | Lifespan | Best for |
|---|---|---|
| Session | Exists only while the current browser tab is open. Gone when you close or refresh. | Quick one-off tests, temporary reference images, things you won't need again. |
| Project | Saved to the current document. Available whenever you open that project, on any device. | Textures, alphas, and baked maps that belong to a specific asset or project. |
| Library | Persists globally across all projects and all future sessions. | Reusable brush alphas, tileable materials, curvature and AO bakes you plan to reuse across multiple assets. |
Using Assets in the Texture Tool
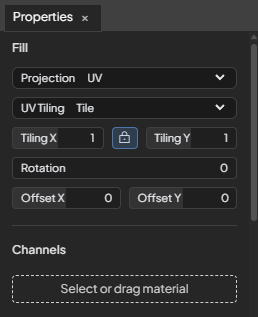
Every slot in the Texture tool — brush tips, channel maps, material fills, layer masks — accepts assets from the library via drag and drop. No copy-paste, no file dialogs.
- In the Assets Library panel, locate the resource you want to use.
- Drag it from the library thumbnail directly onto the target slot in the right-hand panel. Target slots show a highlight when a compatible asset hovers over them.
- Release to apply. The slot updates immediately and the asset is live in your material or brush.
- To remove an asset from a slot, click the × icon that appears on hover over the slot.
You can also drag assets from the library directly onto the 3D viewport. Dropping a material asset onto the mesh surface applies it to the nearest UV island instantly.
Managing Assets
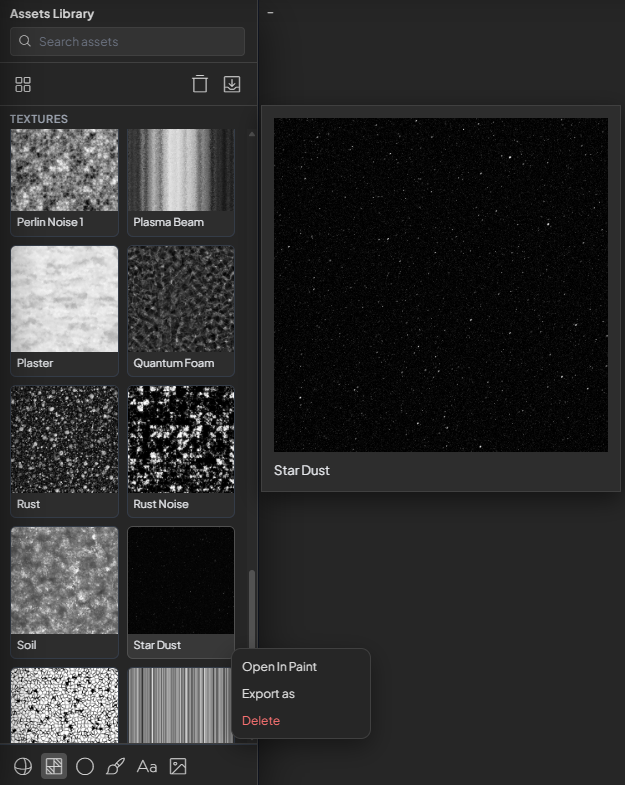
Right-clicking any asset thumbnail in the library opens a context menu with actions for that resource.
| Action | What it does |
|---|---|
| Open In Paint | Opens the asset in the Paint tool 2D canvas for editing. Useful for refining a baked map or adjusting an alpha shape. |
| Export as… | Downloads the asset as a PNG, JPEG, or WebP file to your computer. Use this to extract baked maps for direct engine import. |
| Save to Library | Promotes a Session- or Project-scoped resource up to Library scope so it persists across all future projects. |
| Delete | Removes the asset from its current scope. If it's in a channel or mask slot, that slot will be cleared. This cannot be undone. |